Guide
AI VideoTravel VlogYoutube AutomationText To SpeechAI Voiceover for Travel Vlogs: Create Narration in Minutes
Travel is one of YouTube's most aspirational and profitable niches. Indian travel creators like Tanya Khanijow, Mountain Trekker, and Nomadic Indian have built massive audiences documenting India's incredible diversity. This guide shows you how to start a travel channel, even on a tight budget.
By the FluxNote Editorial Team · Last updated: April 25, 2026
Step-by-Step Guide
Define your travel angle
Pick your style (budget/luxury), audience (students/families), and focus area (India/international). 'Budget weekend trips from Bangalore' is specific and searchable.
Start with local trips
You don't need exotic destinations to start. Document local day trips, nearby towns, and weekend getaways. Build your skills before expensive trips.
Invest in essential gear
Phone with good camera, a portable gimbal (₹3,000-5,000), and a compact tripod. Optional: GoPro for adventure content (₹15,000-25,000).
Film and publish consistently
Post 1-2 long-form videos per week and daily Shorts from your trips. Batch film during travels, edit between trips.
Monetize through multiple streams
YouTube ads, tourism board partnerships, hotel sponsorships, affiliate links for booking platforms, and selling travel itineraries (₹200-500 each).
Why AI Narration is Changing Travel Content
Using an AI voiceover for travel vlogs solves three common problems for creators: inconsistent audio quality, lack of recording equipment on the road, and the time spent on manual recording and editing.
Previously, a travel vlogger needed a quiet space and a quality microphone to record narration, which is impractical in hostels or windy landscapes.
As of 2026, AI text-to-speech (TTS) tools can generate a clean, consistent voiceover in minutes from a simple script.
This process reduces the production timeline from hours to under 15 minutes for a typical YouTube Short.
It also opens up content creation to creators who are not confident in their own speaking voice or want to produce videos in multiple languages.
For example, a creator can generate the same vlog script in English, Spanish, and German using a tool like ElevenLabs v2, tripling their potential audience with minimal extra work.
This efficiency allows creators to focus on capturing great footage during their trips rather than worrying about post-production audio challenges.
Comparing Top AI Voice Generation Tools
When choosing an AI voice generator, creators must compare based on voice realism, language support, and pricing. Here is a breakdown of popular options as of Q2 2026:
- ElevenLabs: Known for the most realistic and emotionally expressive voices. Its Independent Creator plan at $22/month offers voice cloning and access to a large library of pre-made voices. The main limitation is the character count for generation on lower-tier plans.
- Play.ht: A strong competitor with over 900 AI voices in 142 languages and accents. Its Creator plan is priced at $39/month, offering higher character limits than comparable ElevenLabs tiers, making it suitable for longer-form YouTube videos.
- Clipchamp: Microsoft's video editor includes a built-in free text-to-speech generator. While the voice quality is less nuanced than specialized tools, its integration directly into an editor is a significant workflow advantage for creators making simple videos. The free tier supports over 80 languages.
In our testing, ElevenLabs produced the most compelling results for storytelling, while Play.ht offered better value for high-volume production. For creators on a zero budget, Clipchamp's integrated tool is a functional starting point.
Step-by-Step: From Script to Final Video
Creating an AI voiceover involves a straightforward four-step process. First, write a concise script.
For a 60-second travel Reel, this is typically 150-160 words. Keep sentences short and descriptive.
Second, choose your AI voice platform. Paste your script into the text-to-speech generator.
Select a voice that matches your channel's tone, for example, a calm, narrative voice for scenic drone footage or an energetic one for a city market tour. Third, generate and download the audio file, usually as an MP3.
Listen to it carefully to catch any awkward pronunciations; most tools, like Murf.ai, allow you to adjust pronunciation phonetically. A non-obvious detail is to add commas or periods in your script to create natural-sounding pauses in the AI's delivery.
Fourth, import the MP3 file into your video editor (like CapCut or Adobe Premiere Pro). Layer it onto your timeline, sync it with your video clips, and adjust the volume levels against your background music.
Ensure the background music is lowered to around -20dB during narration for clarity.
Integrating Voiceovers with AI Video Editors
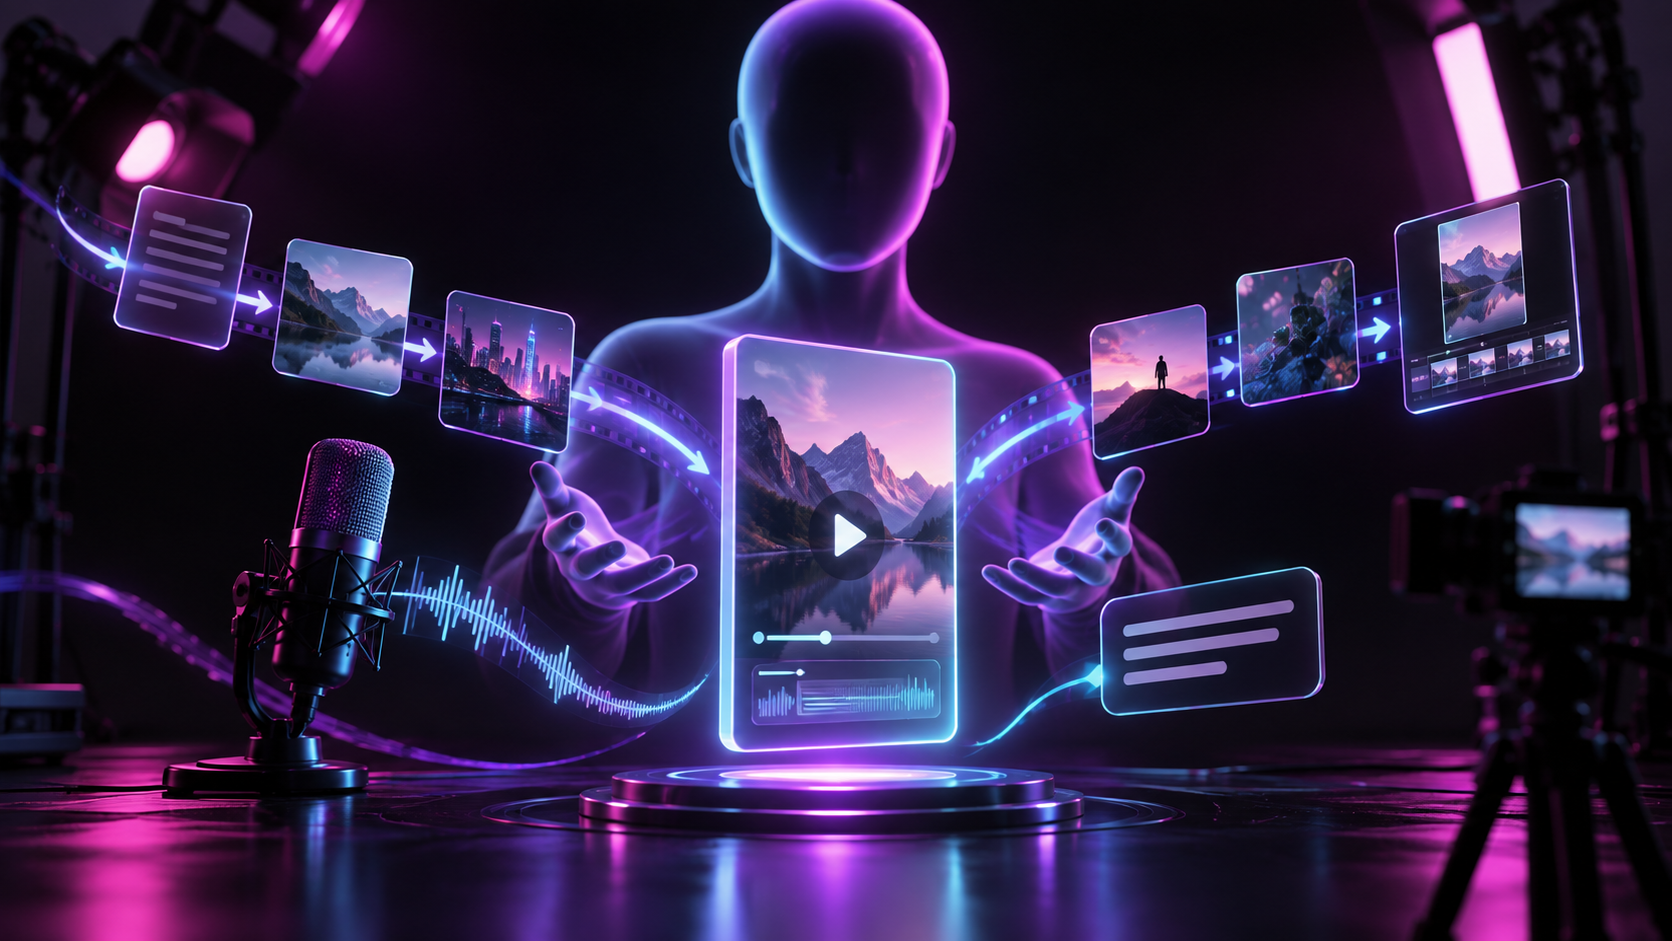
The most efficient workflow combines AI voice generation with an AI video editor.
Instead of generating an audio file in one tool and importing it into another, integrated platforms handle the entire process.
This saves time by removing the need to download and re-upload files.
For instance, some platforms allow you to type a script, generate the voiceover, and simultaneously populate a video timeline with relevant stock footage based on the script's content.
This is ideal for creating short-form travel content for TikTok or YouTube Shorts quickly.
A common issue creators face is timing the voiceover to match specific visual cues.
Integrated editors simplify this by allowing you to break the script into scenes, generating audio for each scene individually.
FluxNote, for example, lets users generate a voiceover from text and automatically adds it to the video timeline, with tools to easily trim and align the audio to specific clips, all within a single interface priced at $10/month.
Common Mistakes and How to Avoid Them
Many creators make avoidable errors when first using AI voiceovers. The most common mistake is choosing a generic, robotic-sounding voice.
The default voice in many free tools sounds unnatural and can reduce viewer engagement. Always spend at least 10 minutes previewing different voices to find one with a realistic tone and cadence.
Another frequent issue is poor audio mixing. A voiceover blasted at full volume over loud background music is difficult to understand.
A good rule, used by professional editors, is to keep narration levels between -6dB and -12dB, while background music should be between -18dB and -25dB. Finally, creators often forget to proofread their script before generating the audio.
An AI will read typos and grammatical errors aloud, which requires regenerating the audio and costs time and credits. Always read your script out loud yourself once before pasting it into the AI tool.
This simple check, taking less than 2 minutes, prevents wasted effort and ensures a professional final product.
Pro Tips
- Always film the arrival, that first shot stepping off the train or bus builds excitement
- Include costs for everything, viewers want exact budgets for accommodation, food, and transport
- Film B-roll (landscapes, streets, food) separately from your talking segments
- Golden hour footage dramatically improves production value of any travel video
- Create 'complete guide' videos that serve as one-stop resources for each destination
Create Videos With AI
From inspiration to your own creation
Put your next idea into action.
Videos, images and ads. One creative studio. Pick what you want to make—or try the walkthrough before you sign up.
Give your next video a voice.
Explore AI voiceovers and lip sync in one workflow, then bring your own project into the studio.
- 01 Start with your video
- 02 Add a voiceover
- 03 Create your lip sync
Start with an account. Create at your own pace.
Loading walkthrough… Full-screen link below if needed.
Tool access and generation allowances depend on your plan.
Frequently Asked Questions
Related Resources
- GuideAI Voice Over for Pet Videos: A 5-Minute Tutorial (2026)
- GuideAI Whiteboard Animation for Math Problems (2026 Tested)
- ToolText to Video AI: Turn Text Into Videos [Fast]
- ToolAI Faceless Video Generator Guide | FluxNote
- GuideCreate a Travel Vlog with AI Voiceover (2026 Guide)
- GuideHow to Make Travel Reels with AI Voiceover (Step-by-Step)
- ComparisonInVideo AI vs Fliki: AI Voiceover Video 2026