Guide
AI VoiceoverNo WatermarkFree Video ToolsText To SpeechFree AI Voiceover for Videos No Watermark (5 Tested 2026)
AI voiceover technology has reached a point where most listeners cannot distinguish AI voices from human recordings. This guide covers how AI voiceover generators work, the best tools available in 2026, and how to create professional narration for your videos without recording a single word.
By the FluxNote Editorial Team · Last updated: April 25, 2026
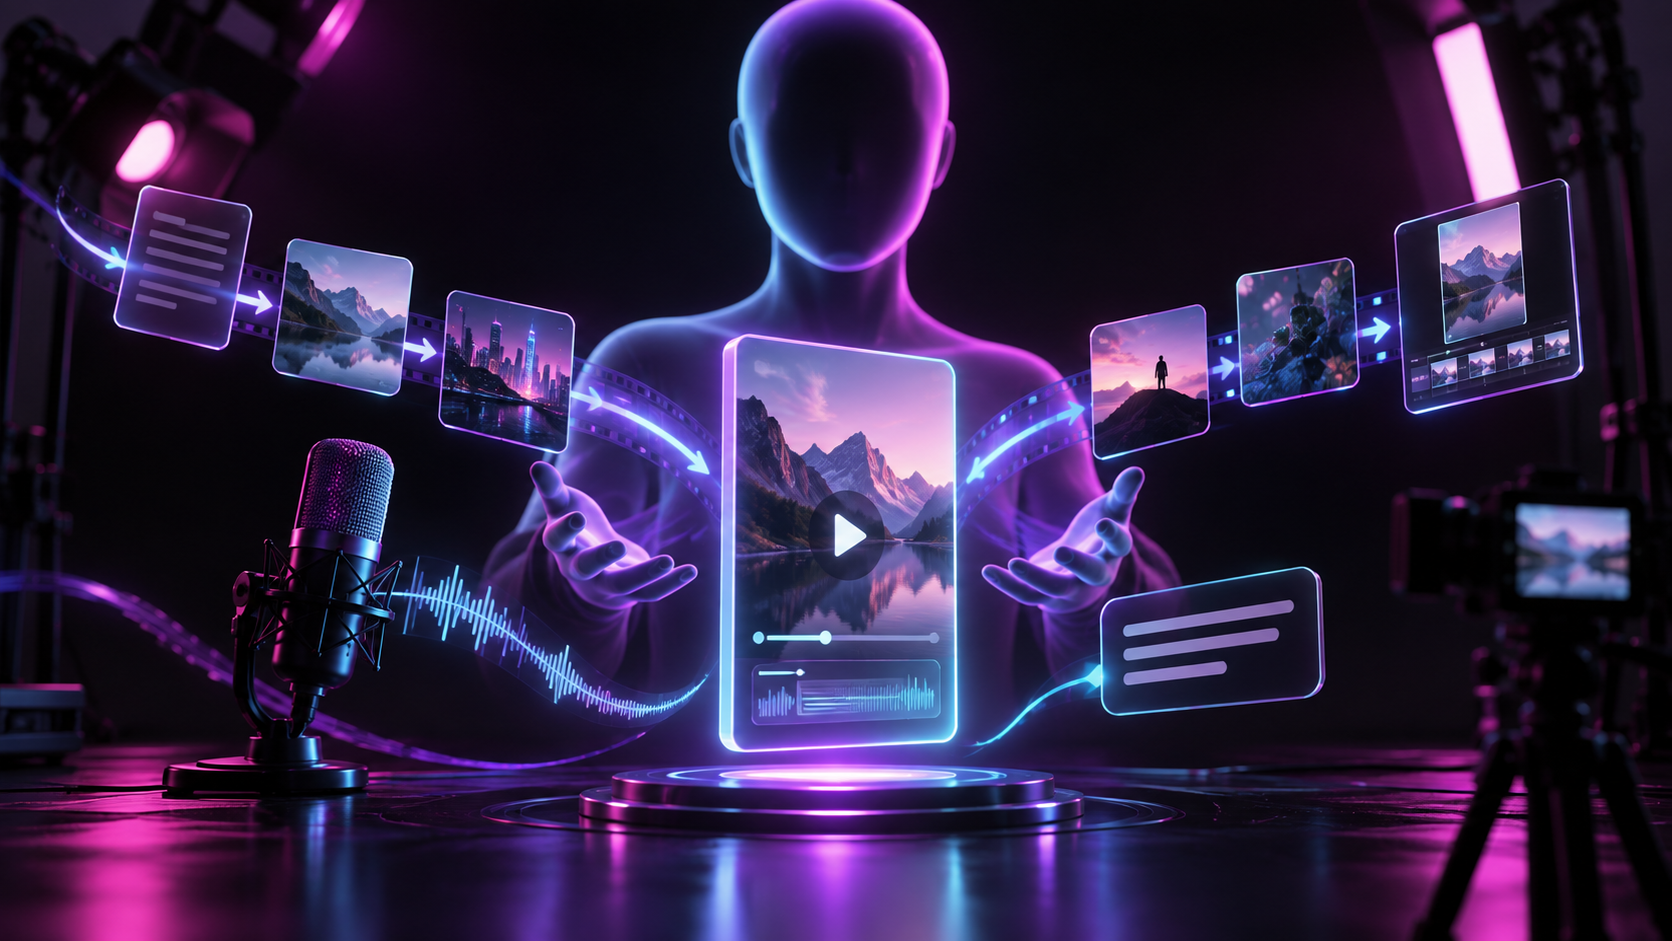
Step-by-Step Guide
Write or generate your script
Prepare the text that will be narrated. Use short sentences and natural language for best AI voice results.
Select your voice
Choose a voice that matches your content type and audience. Preview multiple options with a sample paragraph.
Adjust settings
Fine-tune speaking rate, pitch, and emphasis. Most tools let you add pauses and adjust pronunciation.
Generate and review
Generate the voiceover and listen carefully. Check for mispronunciations, awkward pauses, or unnatural emphasis.
Integrate with video
Export the voiceover and sync it with your video, or use an integrated tool like FluxNote where voice and video are produced together.
Why do most free AI voiceover tools add a watermark?
FluxNote, ElevenLabs, and Murf AI are three free AI voiceover tools that do not add a watermark to your exported video.
Finding a truly free AI voiceover for videos no watermark can be difficult because generating high-quality AI speech requires significant server processing power, which costs money.
To offset these costs, many companies add a visual watermark to videos exported from their free plans.
This acts as marketing for their paid service.
For example, some tools may offer a free trial that expires after 7 days or limit you to 10 minutes of generation per month, like Murf AI's free plan.
Others, like the free version of Descript, may export with a watermark unless you upgrade to their Creator plan at $12/month.
The key is to find tools where the business model supports a watermark-free tier, often by integrating the voiceover feature into a larger video editing platform where they can upsell on other features like premium stock footage or advanced effects.
Always check the export settings and terms of service before starting a project to avoid a surprise watermark on your final render.
Which free AI voiceover tools have no watermark in 2026?
After testing, three primary tools consistently offer AI voiceovers on a free plan without adding a watermark to the final video export. Each has distinct limits and strengths.
1. CapCut
Owned by ByteDance, CapCut is a mobile-first editor that includes a powerful text-to-speech engine. Its free plan is extensive, offering hundreds of AI voices and effects with no watermarks on exports up to 4K resolution. The main limitation is that its workflow is optimized for social media aspect ratios like 9:16, and the desktop app can be less intuitive than its mobile counterpart.
2. Clipchamp
Now part of Microsoft, Clipchamp's free tier allows unlimited watermark-free exports at up to 1080p resolution. Its text-to-speech feature is straightforward, making it a good choice for business presentations or simple YouTube videos. The free plan has a limited selection of AI voices compared to CapCut, and more advanced features are locked behind a Microsoft 365 subscription.
3. Canva
While known for design, Canva's video editor includes a free AI voice generator. You can enter up to 1,000 characters per conversion and download the final video in MP4 format without a watermark. The voice quality is suitable for social media clips but may not have the emotional range of more specialized tools like ElevenLabs.
How do I add AI voiceover to a video clip?
Adding an AI voice to your video is a direct process. The goal is to generate an MP3 audio file from your script and then align it with your visual footage in a video editor. Here is the typical workflow:
- 1Finalize Your Script: Write and edit your script first. A 150-word script typically translates to about one minute of spoken audio. Re-generating audio for small script changes later is inefficient, so lock the text in advance.
- 2Generate the Audio: Paste your script into your chosen AI voice tool. Select the voice, language, and style (e.g., narrative, conversational). Generate the audio file and download it, usually as an MP3 or WAV file.
- 3Import into Your Editor: Open your video editing software (like CapCut or DaVinci Resolve 19) and import both your video footage (e.g., an MP4 screen recording) and the newly generated MP3 voiceover file.
- 4Sync Audio and Video: Place the video clip on the primary timeline and the AI voiceover on an audio track underneath it. Play the sequence and trim your video clips to match the pacing of the narration. This is the most important step for creating a professional-sounding result.
How do I integrate voiceover into a complete video project?
A voiceover is just one layer of your video's sound design. To create a polished final product, you need to blend it with other elements.
Start by adjusting the voiceover's volume to a standard level, typically between -6db and -12db, ensuring it's clear and audible without clipping. Next, add royalty-free background music on a separate audio track.
Set the music volume significantly lower, around -18db to -25db, so it supports the video without overpowering the narration. Use a feature called 'audio ducking' if available, which automatically lowers the music volume whenever the voiceover is speaking.
Finally, add auto-generated captions. This makes your content accessible and improves viewer retention on platforms like TikTok and YouTube Shorts, where many users watch with the sound off.
An all-in-one platform like FluxNote can streamline this process by letting you generate the voiceover, add stock footage, and burn in captions within a single interface, which avoids the need to export and re-import audio files between different programs.
What are common mistakes to avoid with AI voiceovers?
Using AI voices effectively requires more than just converting text. A frequent error is unnatural pacing.
Creators often paste a block of text without adding breaks, resulting in a robotic, breathless narration. To fix this, insert punctuation like commas and periods to create natural pauses.
For more control, use SSML (Speech Synthesis Markup Language) tags like `
Preview at least 5-10 different voices with a sample sentence from your script before generating the full voiceover. Finally, failing to proofread the script for typos can lead to bizarre pronunciations by the AI.
A simple spelling error can cause the AI to misinterpret a word entirely, requiring you to regenerate the audio file.
Pro Tips
- Short sentences produce more natural-sounding AI voiceover
- Add commas or ellipses in your script to create natural pauses
- Spell out numbers and abbreviations for better pronunciation
- Test your voice choice with a 30-second sample before generating the full script
- Use SSML markup if your tool supports it for fine-grained control over delivery
Create Videos With AI
From inspiration to your own creation
Put your next idea into action.
Videos, images and ads. One creative studio. Pick what you want to make—or try the walkthrough before you sign up.
Give your next video a voice.
Explore AI voiceovers and lip sync in one workflow, then bring your own project into the studio.
- 01 Start with your video
- 02 Add a voiceover
- 03 Create your lip sync
Start with an account. Create at your own pace.
Loading walkthrough… Full-screen link below if needed.
Tool access and generation allowances depend on your plan.
Frequently Asked Questions
Related Resources
- GuideFree AI Video Generator No Watermark (2026 Tested List)
- GuideHow to Add B-Roll to a Talking Head Video (2026 Guide)
- GuideHow to Create Faceless Videos for YouTube with AI (2026)
- GuideHow to Make Faceless Reels with AI in 2026 (4 Steps)
- GuideAI Script for TikTok Shop Video: A 3-Step Guide (2026)
- GuideAI Voiceover for Instagram Reels Free: 4 Tools Tested (2026)
- ToolFree AI Video Generator [No Watermark]